Rebuilding iPhone 12 Mini Notification Sound Errors Post iOS 17 Rollout

Introduction
When Apple released iOS 17, many iPhone 12 Mini owners noticed that their notification sounds behaved oddly. Instead of the crisp alerts they were used to, some users reported choppy tones, missing vibrations, or completely silent notifications. The root cause lies in how the new operating system manages sound profiles and device settings. A quick rebuild of the notification sound subsystem can restore normal behavior without resorting to a full factory reset or a new phone.
This article explains why the problem occurs, what the symptoms look like, and offers a detailed, step‑by‑step method to rebuild the notification sound system on an iPhone 12 Mini. It also shares useful tips for avoiding future issues and alternative troubleshooting options.
Why the Problem Appears After iOS 17
Changes in Sound Handling
iOS 17 introduces new background audio management features that allow apps to run more efficiently while playing music or notifications. The system now shares a common sound service for all apps, and the way it accesses the hardware sound chip changed. If the service’s cache becomes corrupted during the update, the phone can mis‑route notification tones.
Firmware and Hardware Mismatch
The iPhone 12 Mini’s audio firmware was initially compiled for iOS 16. When iOS 17 rolls out, Apple patches the firmware to match the new audio driver. A failed patch can leave the firmware in a partially updated state, resulting in broken or muted notification sounds.
User‑Level Settings
During the update, certain user settings—such as “Allow Notifications,” “Sound,” or “Vibrate on Ring”—may be inadvertently reset or toggled. If the system fails to correctly re‑apply these settings, notification sounds may become silent or too loud.
Symptoms to Look For
- Missing or delayed notification alerts: Messages arrive but no sound plays.
- Inconsistent volume: Some notifications play at full volume, others are barely audible.
- Stuttered or distorted tones: The notification sound is fragmented or distorted.
- Vibration issues: The phone vibrates for some alerts but not others.
- Complete silence: No audio or vibration for any notification.
If you notice one or more of these symptoms, the rebuilt notification sound system often resolves the issue.
How to Rebuild the Notification Sound System
Below is a step‑by‑step guide that covers all the actions you need to take. No special tools or third‑party software are required; everything can be done within the iPhone’s built‑in settings.
1. Restart the Device
A soft restart clears temporary caches and forces the system to reload configuration files.
- Press and hold the side button and either volume button until the slider appears.
- Drag the slider to turn off the phone.
- Wait 10 seconds, then press and hold the side button until the Apple logo appears.
2. Reset Notification Settings
Resetting notification settings restores the default values for all apps, ensuring that system‑level sound profiles are correctly applied.
- Open Settings → Notifications.
- Scroll to the bottom and tap Reset All Notification Settings.
- Confirm the action when prompted.
3. Verify Ringer and Volume Levels
Make sure that the ringer switch is not set to silent and that the volume sliders are at appropriate levels.
- Flip the physical mute switch on the left side of the device to the off position.
- Go to Settings → Sounds & Haptics.
- Adjust the Ringer and Alerts volume slider to a medium level (around 50‑60 %).
- Ensure Change with Buttons is toggled on if you prefer using hardware buttons.
4. Re‑enable “Allow Notifications”
If the system has disabled notifications for an app, re‑enable them.
- In Settings → Notifications, tap the app that is missing sounds.
- Toggle Allow Notifications on.
- Confirm that Sounds is enabled and choose a sound from the list.
5. Re‑install iOS 17 (Optional)
If the problem persists, reinstall the OS without erasing data. This forces the firmware to refresh.
- Connect the iPhone to a computer with the latest version of iTunes or Finder.
- Put the device into Recovery Mode by pressing and quickly releasing Volume Up, then Volume Down, then holding the Side button until the recovery screen appears.
- In iTunes/Finder, click Restore iPhone. Choose Restore (not Update) so that the system files are overwritten.
- After the restore, skip the “Set up as new” step; choose “Restore from backup” to keep your data.
6. Check for Software Updates
Occasionally, Apple releases a patch for iOS 17 that addresses audio glitches. Verify that you have the latest build.
- Go to Settings → General → Software Update.
- If an update is available, download and install it.
7. Test the System
Open a messaging app, call a contact, or trigger any notification to confirm that the sound is functioning.
- Send yourself a test message on iMessage.
- Use the phone to dial a number and check the ring tone.
- Launch an app that normally notifies you (e.g., Calendar or Mail).
If all notifications sound correct, the rebuild was successful.
Additional Tips and Best Practices
- Keep the device updated: Install the latest iOS version promptly to benefit from bug fixes.
- Avoid over‑customizing: Too many custom notification sounds or extensive use of “Do Not Disturb” schedules can create conflicts.
- Back up before major changes: Use iCloud or iTunes to back up your data before reinstalling the OS.
- Monitor battery health: In some cases, low battery or poor power conditions can affect audio hardware performance.
Common Pitfalls to Avoid
- Assuming a full reset is necessary: A factory reset erases all data; a rebuild is far less disruptive.
- Skipping the mute switch check: The physical mute button can override software settings.
- Disabling “Change with Buttons”: Without this, you cannot adjust ringer volume using hardware buttons, which can cause confusion during troubleshooting.
Alternative Troubleshooting Methods
If the rebuild steps do not resolve the issue, consider these alternatives:
- Reset all settings: This restores default system settings without affecting data. Navigate to Settings → General → Transfer or Reset iPhone → Reset → Reset All Settings.
- Disable and re‑enable “Reduce Loud Sounds”: Located in Settings → Accessibility → Audio/Visual → Reduce Loud Sounds. Turning it off and on can reset the audio engine.
- Check for third‑party apps: Some apps can override system notification sounds. Temporarily uninstall recent installs to see if the problem resolves.
- Consult Apple Support: If the phone is still under warranty, a technician can check for hardware issues that might affect audio.
Conclusion
The notification sound errors that surfaced after the iOS 17 rollout on the iPhone 12 Mini can usually be fixed by rebuilding the notification sound system. By following the seven‑step procedure above, you can restore normal audio behavior without erasing data or purchasing a new device. Regular software updates, careful settings management, and quick troubleshooting steps will keep your notifications crisp and reliable for years to come.
Discussion (10)
Join the Discussion
Your comment has been submitted for moderation.
Random Posts

Rebooting Google Nest Hub (3rd Gen) to Resolve App Sync Glitches
Stuck with delayed notifications, unresponsive tiles, or stale smart, home data? A simple reboot of your Nest Hub 3rd Gen clears cache, resets processes, and restores smooth app sync.
3 months ago
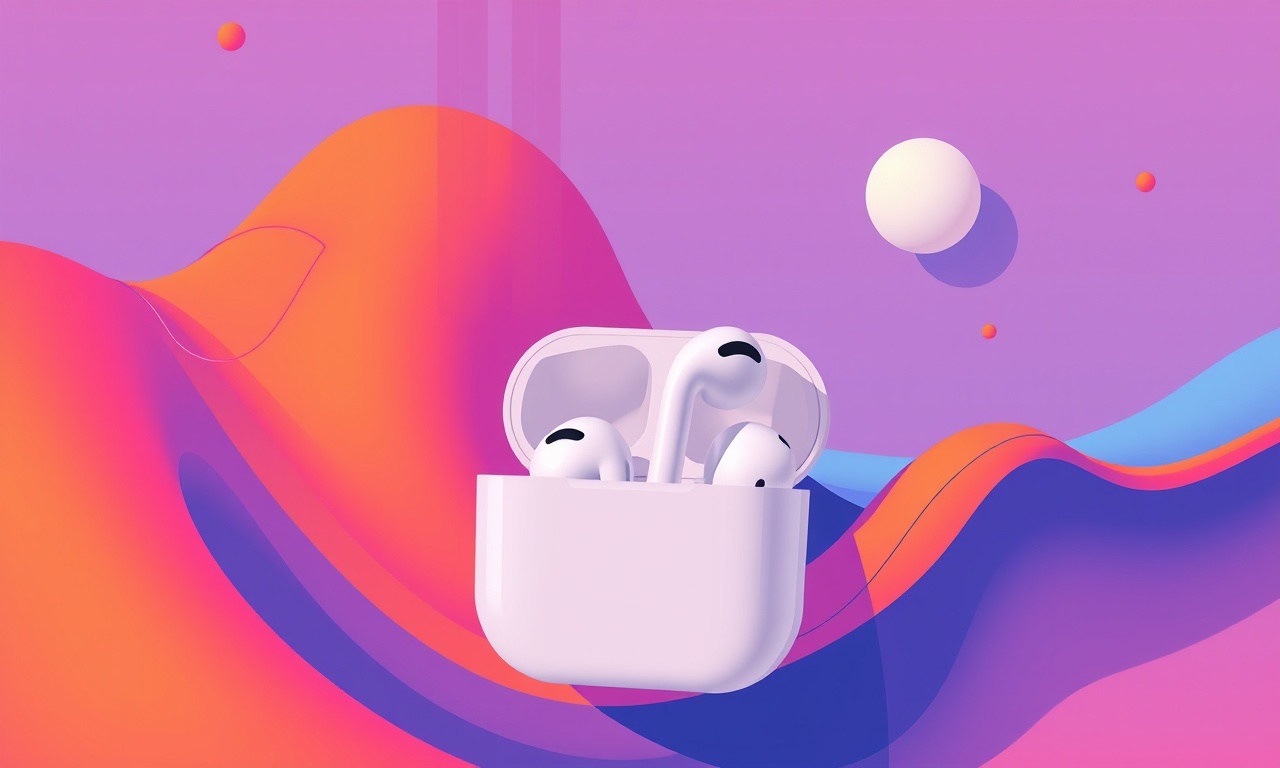
Fixing Bluetooth Signal Drops on Apple AirPods Pro
Tired of AirPods Pro disconnecting during walks or workouts? Learn why Bluetooth drops happen, how to spot them, and quick fixes - no coding required - to keep audio flowing.
11 months ago
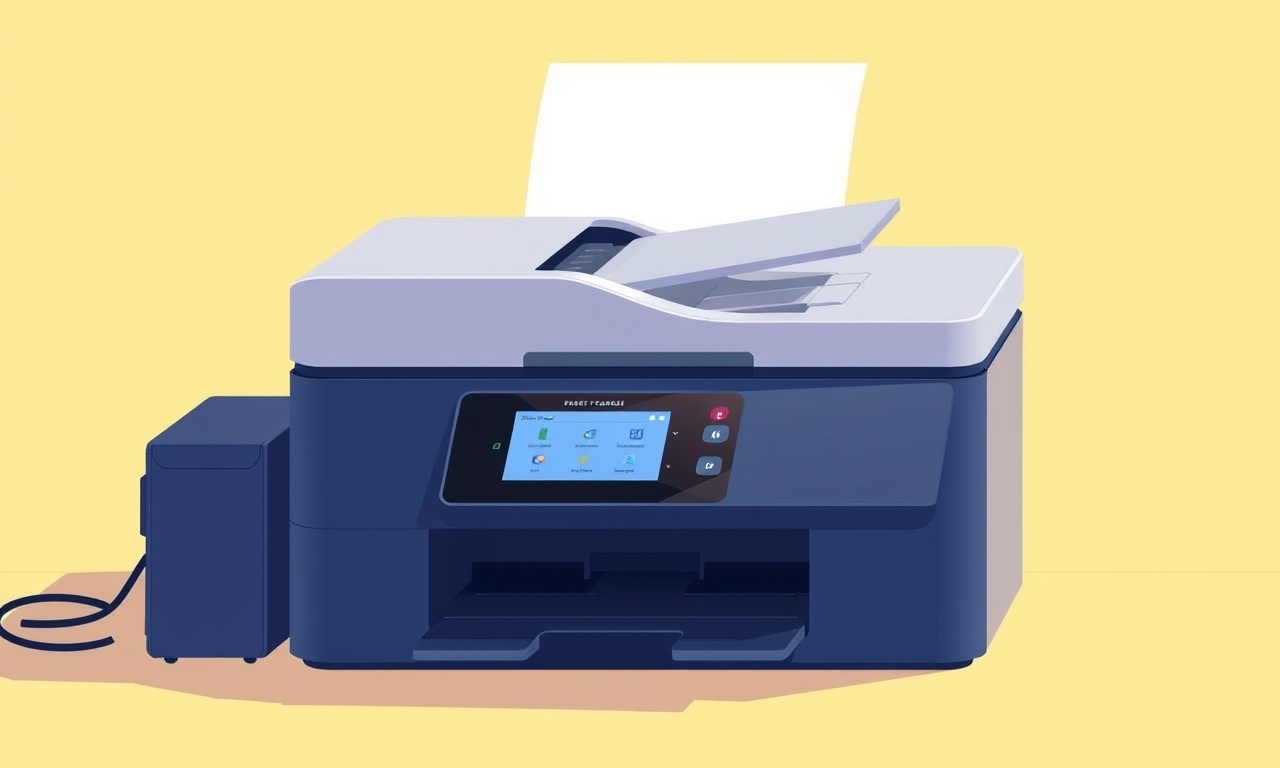
Fixing the Duplexer Failure on a Brother MFC‑J805DW
Learn how to diagnose and replace a faulty duplexer on your Brother MFC, J805DW, restoring double, sided printing with step, by, step instructions for tech, savvy users.
10 months ago

Solving Apple iPhone 13 Pro Camera Rolling Shutter With External Lens
Stop the slanted look from rolling shutter when adding external lenses to your iPhone 13 Pro by tweaking camera settings, choosing the right lens, and using proper stabilization.
9 months ago

Restoring Bandwidth on Amazon Eero Mesh 6 Pro After a Firmware Update
After an Eero Mesh 6 Pro firmware update, bandwidth often drops. This guide explains why the change occurs and walks you through quick steps to restore full speed and a stable connection for work and play.
8 months ago
Latest Posts

Fixing the Eufy RoboVac 15C Battery Drain Post Firmware Update
Fix the Eufy RoboVac 15C battery drain after firmware update with our quick guide: understand the changes, identify the cause, and follow step by step fixes to restore full runtime.
5 days ago

Solve Reolink Argus 3 Battery Drain When Using PIR Motion Sensor
Learn why the Argus 3 battery drains fast with the PIR sensor on and follow simple steps to fix it, extend runtime, and keep your camera ready without sacrificing motion detection.
5 days ago

Resolving Sound Distortion on Beats Studio3 Wireless Headphones
Learn how to pinpoint and fix common distortion in Beats Studio3 headphones from source issues to Bluetooth glitches so you can enjoy clear audio again.
6 days ago