Recalibrating Contrast on Asus VG279QM While Working from Home
Recalibrating Contrast on Asus VG279QM While Working from Home
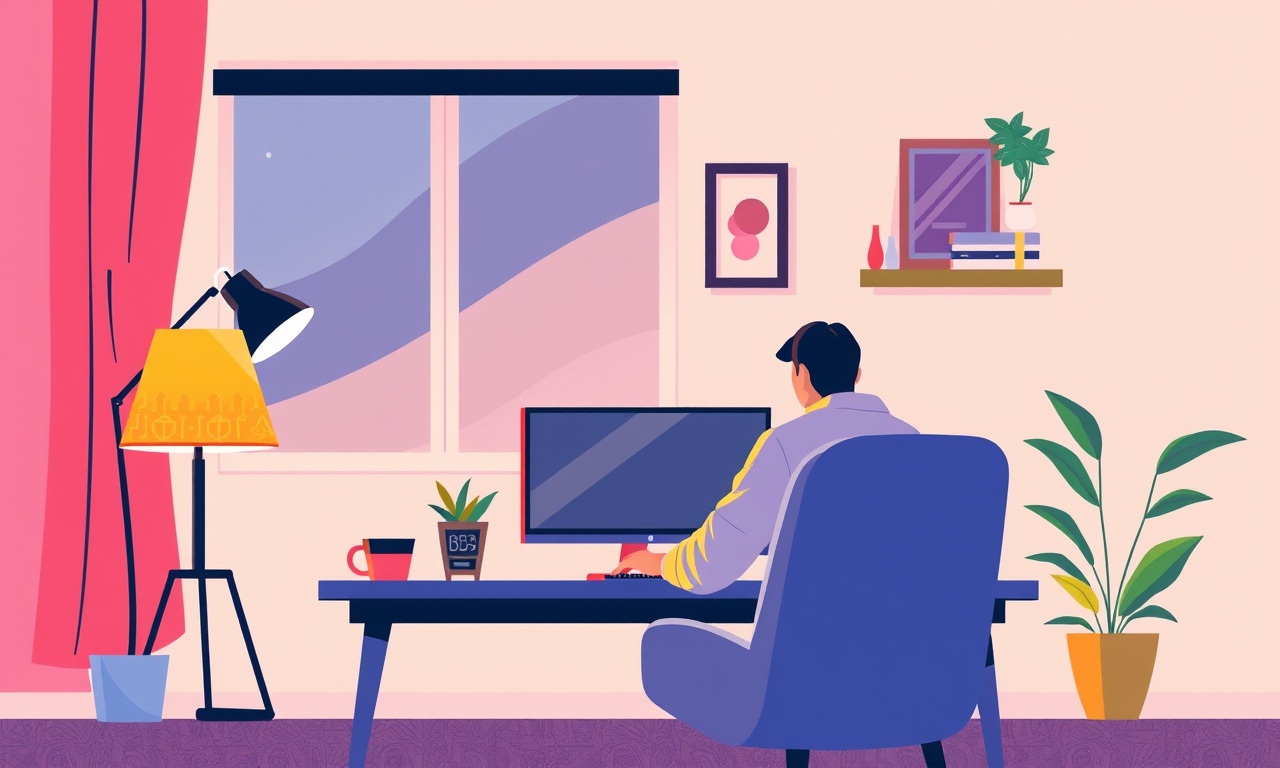
When the office moves to your living room, the screen becomes the most important piece of furniture in the space. A well‑calibrated monitor is not just about bright colors or sharp images; it directly impacts eye health, productivity, and overall comfort. The Asus VG279QM, with its 279‑mm IPS panel, 280 Hz refresh rate, and a host of ergonomics, is a popular choice for remote workers who demand both speed and precision. One of the most frequently overlooked settings on this monitor is contrast. Adjusting contrast properly can reduce eye strain, improve text readability, and give you a more natural viewing experience. This guide walks you through the entire process—from a quick OSD tweak to a full hardware calibration—so you can work efficiently and comfortably from home.
Why Contrast Matters for Remote Work
Contrast refers to the difference between the brightest white and the darkest black a display can show. In a typical office environment, ambient lighting is controlled, but at home the lighting can vary dramatically: harsh noon light, dim evening bulbs, or a mix of both. A monitor that is too high in contrast will make whites look glaringly bright and blacks appear pitch black, forcing you to squint or increase brightness. Too low a contrast can render text mushy and make it hard to read code or documents. Finding the sweet spot balances sharpness, color fidelity, and eye comfort.
Contrast also affects how other color settings interact. For example, a high contrast setting can exaggerate the difference between color saturation and hue, leading to a washed‑out or overly saturated look. Therefore, recalibrating contrast before adjusting other parameters ensures that every setting sits on a solid foundation.
Quick Overview of the Asus VG279QM
- Panel type: 27‑inch IPS, 2560 × 1440 resolution, 280 Hz refresh rate (variable).
- Brightness: 350 cd/m² (typical), 300 cd/m² at 280 Hz.
- Contrast ratio: 3000:1 (factory‑set).
- Color gamut: 95 % DCI‑P3.
- Ergonomics: Height, tilt, swivel, pivot adjustments, plus a built‑in eye‑care mode.
- OSD: On‑screen display with both hardware buttons and a side‑panel touch‑controlled menu.
The VG279QM ships with a factory‑calibrated contrast setting that works well for most users. However, personal preferences and lighting conditions often call for a custom adjustment.
Step 1 – Prepare Your Workspace
Before you dive into the calibration, set up a consistent environment:
- Position the monitor at eye level, 60–80 cm away. The top of the screen should be at or just below eye height.
- Control ambient lighting: Use a soft lamp or a bias‑lighting strip behind the monitor. Avoid direct glare from windows or overhead lights.
- Turn off the monitor for a few minutes after plugging it in. This helps the panel settle to its operating temperature, giving more accurate readings.
Once the workspace is ready, power on the monitor and let it load into the default settings.
Step 2 – Access the OSD Menu
The VG279QM’s OSD can be navigated using the side panel or the physical buttons on the bottom bezel.
- Side panel method: Touch the screen area on the right side of the monitor and swipe left to open the menu.
- Button method: Press the
Menubutton on the bottom left. Use the▲and▼buttons to navigate, and theEnterbutton to select.
In either case, the main OSD screen shows a grid of icons. Locate the Display icon (usually represented by a screen). Tap or press it to access detailed settings.
Step 3 – Adjust Contrast Using the On‑Screen Controls
Inside the Display menu, you’ll find a Contrast slider. By default, it is set to 500 (on a 0–1000 range). Here’s how to fine‑tune it:
- Set the monitor to a neutral background: Many users choose a pure white screen (RGB 255,255,255) to test contrast. You can do this by opening a new document and filling the page with white.
- Move the Contrast slider: Slowly adjust up or down while watching how the white areas respond. A higher value makes whites brighter and blacks deeper. A lower value softens the contrast, making the image more muted.
- Aim for readability: If you are reading code, you want a contrast that lets the dark text stand out against a moderately bright background. For graphic design, a higher contrast can help you see fine details.
Tip: If you’re unsure where to stop, keep adjusting until the white area feels neither washed out nor overly glaring. You should also pay attention to any visible banding on the screen, which can indicate a mismatch between contrast and brightness.
Once you settle on a value, confirm the change and exit the OSD. Your monitor will now use the new contrast setting.
Step 4 – Use Asus Eye Care Mode for a Softer Look
The VG279QM offers an Eye Care mode that reduces blue light and can adjust contrast for a more eye‑friendly display. To enable it:
- Return to the main OSD and select
Eye Care. - Turn on the mode by toggling
ON. - Adjust the intensity slider if you find the image too dim or too bright.
This mode can be especially useful in dim home environments or during long work sessions. It automatically reverts to the user’s chosen contrast level, so you can still benefit from the manual adjustment.
Step 5 – Calibrate Using External Software (Optional)
For professionals who need pixel‑perfect color accuracy—such as designers, photographers, or developers working with color‑sensitive data—software calibration is recommended. Two common methods are:
5.1 Display Calibration with a Colorimeter
A hardware colorimeter (like X-Rite i1Display or Datacolor SpyderX) measures the actual light output of your monitor. Pair it with calibration software such as DisplayCAL or the manufacturer’s own utilities.
- Install the colorimeter and launch DisplayCAL.
- Choose a profile target: For general use,
Adobe RGB (1998)orRec. 709are standard. For a wider gamut,DCI‑P3may be preferable. - Run the measurement sequence: The software will display a series of color patches. The colorimeter will capture how the monitor renders them.
- Generate a profile: The software creates an ICC profile that corrects for luminance, gamma, and color. Save this profile.
- Apply the profile: In Windows, go to Settings → System → Display → Advanced display settings → Color calibration. Choose the profile you created.
When you apply the profile, the OS will internally adjust the image output, and the monitor will present colors more accurately. The contrast value remains as set earlier; the profile works in tandem to balance brightness and color.
5.2 Windows Display Color Calibration
Windows has a built‑in calibration tool that is simpler but less precise than hardware calibration.
- Open the calibration wizard: Press
Win + R, typedispcal.exe, and hit Enter. - Follow the on‑screen prompts: The wizard adjusts gamma, white point, and luminance.
- Finish and save the profile: The wizard generates an ICC profile automatically.
After finishing, Windows will apply the profile globally, improving overall color consistency.
Step 6 – Fine‑Tuning Gamma and Color Temperature
While contrast and brightness form the core of the visual experience, adjusting gamma and color temperature can further tailor the monitor to your needs.
- Gamma: Adjusting gamma changes how mid‑tones are rendered. A gamma of 2.2 is standard for most content. If you find that mid‑tones are too dark or too light, tweak this setting in the OSD under
Advanced. - Color Temperature: Choose from presets like
6500 K,7500 K, orCustom. A warmer color temperature (lower Kelvin value) reduces blue light and is often preferable for late‑night work.
Remember, changes to gamma and color temperature should be applied after finalizing contrast, as they affect the perceived intensity of the white and black levels.
Step 7 – Save and Test Presets
The VG279QM lets you save multiple presets, which is useful if you switch between different work modes (coding, video, gaming). To create a preset:
- Return to the
Displaymenu. - Select
Save Presetand give it a descriptive name, such asWork Mode. - Load the preset whenever you start your day by selecting
Load Preset.
After saving, test the preset by opening a text editor, a PDF, and a video file. Verify that text remains crisp, colors look natural, and the overall experience feels balanced.
Step 8 – Troubleshooting Common Issues
| Symptom | Possible Cause | Fix |
|---|---|---|
| Whites look too bright or blacks look too dark | Contrast too high | Lower the contrast slider |
| Text appears fuzzy or unclear | Contrast too low | Raise the contrast slider |
| Colors appear washed out or overly saturated | Gamma/Color temp mismatch | Adjust gamma or switch to a different color temperature |
| Monitor flickers during video playback | Refresh rate mismatch | Ensure the monitor’s refresh rate matches the content’s frame rate |
| Eye fatigue after long sessions | Blue light exposure | Enable Eye Care mode or use a blue‑light filter |
If you still encounter issues after adjusting contrast and other settings, consider resetting the monitor to factory defaults and repeating the calibration steps.
Step 9 – Maintaining Calibration Over Time
Display panels can drift slightly over months. To maintain accuracy:
- Recalibrate every 6–12 months if you rely on color precision.
- Keep ambient lighting consistent: If you install a bias‑lighting strip, adjust the monitor settings accordingly.
- Avoid extreme temperature or humidity: Store the monitor in a dry, temperature‑controlled environment.
A quick check can involve opening a plain white document and verifying that whites appear neither overly bright nor washed out.
Final Thoughts
Recalibrating contrast on the Asus VG279QM is a straightforward but essential task for anyone working from home. By starting with a clean OSD adjustment, leveraging the Eye Care mode, and optionally using hardware calibration, you can create a visual environment that is comfortable, accurate, and tailored to your workflow. Remember that contrast is just one piece of the puzzle; brightness, gamma, and color temperature all play vital roles. With the right settings in place, you’ll experience less eye strain, sharper text, and a more pleasant working experience—whether you’re coding, editing PDFs, or streaming a meeting.
Your monitor is more than a display; it’s an extension of your desk. Treat it with the care it deserves, and you’ll reap the benefits for months to come.
Discussion (8)
Join the Discussion
Your comment has been submitted for moderation.
Random Posts

Solving a Persistent Stain Release Issue on Whirlpool WFW5620HW
Tired of spots on your clothes? Discover how to diagnose and fix the stubborn stain release problem on your Whirlpool WFW5620HW with our step-by-step guide.
9 months ago

De'Longhi DL150 Steam Iron Water Recirculation Failure Solution
Trouble with your DeLonghi DL150 steam iron? Learn why water recirculation fails, diagnose the issue, and follow our simple step by step solution to restore steady steam and wrinkle free clothes.
3 months ago
Resolving Lenovo Mirage Solo Bluetooth Pairing Issues
Fix Lenovo Mirage Solo Bluetooth glitches fast with this step by step guide. From simple checks to firmware hacks, reconnect your headset, controllers, and peripherals in minutes.
2 months ago
Lenovo SmartEyewear X Eye Tracking Error Troubleshoot
Get your Lenovo SmartEyewear X eye tracking back with our step-by-step guide. Diagnose glitches, reset settings, and restore smooth gaze navigation quickly.
3 months ago

Calibrating Noise‑Cancellation on Beats Studio Buds
Master Beats Studio Buds ANC: learn the science, step, by, step calibration, and troubleshooting to silence distractions and boost your listening experience.
10 months ago
Latest Posts

Fixing the Eufy RoboVac 15C Battery Drain Post Firmware Update
Fix the Eufy RoboVac 15C battery drain after firmware update with our quick guide: understand the changes, identify the cause, and follow step by step fixes to restore full runtime.
5 days ago
Solve Reolink Argus 3 Battery Drain When Using PIR Motion Sensor
Learn why the Argus 3 battery drains fast with the PIR sensor on and follow simple steps to fix it, extend runtime, and keep your camera ready without sacrificing motion detection.
5 days ago

Resolving Sound Distortion on Beats Studio3 Wireless Headphones
Learn how to pinpoint and fix common distortion in Beats Studio3 headphones from source issues to Bluetooth glitches so you can enjoy clear audio again.
6 days ago