Repair JBL Flip 3 Speaker Not Working After Water Exposure
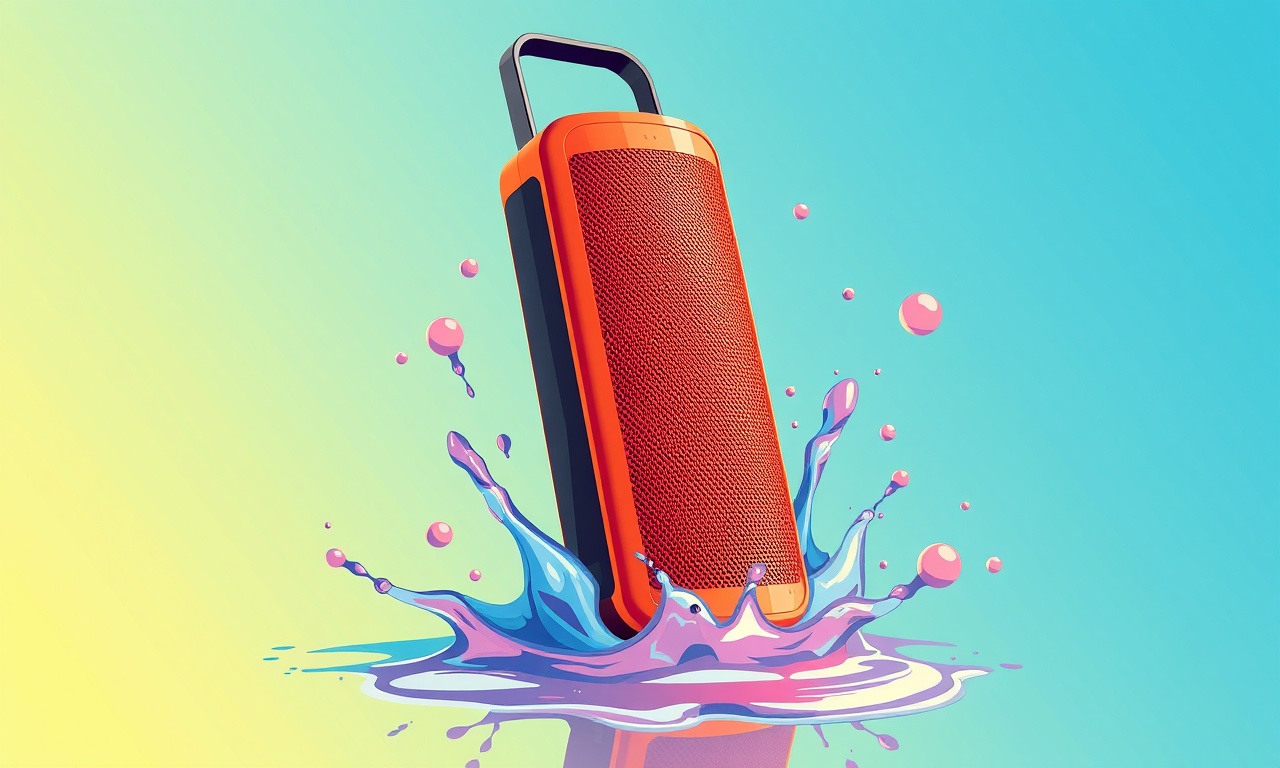
When a JBL Flip 3 speaker suddenly stops playing after a splashing cup of water or a rainy day outing, the first instinct is to blame the moisture for ruining the internal circuitry. While water damage can indeed be catastrophic, many users overlook simple steps that can revive the device or at least preserve its components for later repair. This guide walks you through a systematic approach to diagnose, dry, and restore a JBL Flip 3 that has been exposed to water, while also highlighting the signs that a professional repair or replacement is the best course of action.
Recognizing the Symptoms of Water Exposure
The JBL Flip 3 is designed to be water‑resistant with an IPX7 rating, meaning it can withstand immersion up to one meter for 30 minutes. However, any breach in that seal—cracks, loose screws, or damaged rubber seals—allows moisture to seep in. Typical warning signs include:
- No sound output while the speaker appears to be powered on.
- Intermittent audio that stops when the speaker is moved or shaken.
- Visual evidence such as corrosion on the charging port or condensation in the speaker grille.
- Battery issues—the LED indicator may flicker or fail to light after a charge.
- Unusual smells of burnt or metallic odor, indicating possible short circuits.
If you encounter any of these cues, stop using the speaker immediately to avoid further damage.
Safety First: Power Off and Disconnect
Before touching any internal parts, ensure the speaker is completely powered down:
- Press and hold the power button until the LED turns off.
- Unplug the USB‑C cable and remove the battery if possible (the Flip 3’s battery is sealed, but a brief disconnect can reduce risk).
- Work on a static‑free surface, preferably a non‑conductive mat.
Using a grounded wrist strap is advisable, especially if you plan to open the enclosure.
Opening the Flip 3: A Gentle Disassembly
The Flip 3’s design keeps the internal components compact, yet it can be opened without specialized tools:
- Locate the two bottom screws hidden under the rubber feet.
- Remove the screws with a Phillips‑head screwdriver.
- Slide the bottom panel off; a small gap should appear near the rear.
- Gently pry the rear panel away using a plastic opening tool or your fingernail.
Once open, you’ll see the circuit board, battery, speaker driver, and the rubber seal that protects against water. If any component appears visibly soaked, note its location for the drying step.
Drying the Device: A Step‑by‑Step Method
Water can linger in micro‑spaces; the goal is to remove it without damaging heat‑sensitive parts. Follow these steps:
- Air Dry: Place the speaker on a dry towel and leave it in a warm, dry area for 48 hours.
- Desiccant Packets: If you have silica gel or rice, surround the speaker with the desiccant in a sealed plastic bag.
- Avoid Heat: Do not use a hair dryer, oven, or direct sunlight, as excessive heat can warp plastic or damage the battery.
During the drying period, flip the speaker over at least once to allow moisture to escape from all corners.
Inspecting the Internal Components
After drying, reassemble the speaker just enough to access the internal board:
- Look for corrosion on the copper traces—brown or green discoloration indicates oxidation.
- Check the charging port for any residual moisture or debris.
- Inspect the speaker driver; if it is visibly warped or coated in a film, it may have lost fidelity.
- Confirm that the rubber seal remains intact; a damaged seal can let future water in.
If you observe any severe corrosion or component damage, you may need professional help or a replacement.
Reassembling with Care
Once satisfied with the internal state, close the speaker:
- Reinsert the rear panel and snap it into place.
- Replace the rubber feet and secure the bottom screws.
- Apply a light coat of silicone sealant around the seam if the original seal has degraded.
This extra layer of protection helps keep the IPX7 rating intact for future use.
Testing the Speaker
Before returning the device to normal use, conduct a comprehensive test:
- Power On: Verify that the LED indicator lights up.
- Audio Check: Play a high‑volume track and listen for clarity.
- Battery Life: Charge fully and monitor the time the speaker stays active.
- Water Resistance: Submerge the speaker in a small water container for a short period to confirm the seal’s integrity.
If the speaker behaves as expected, you’ve successfully salvaged it. If any issues persist—such as static hiss or intermittent shut‑downs—proceed to the next step.
Common Mistakes to Avoid
Even well‑intentioned repair attempts can fail if certain pitfalls are ignored:
- Forcing the Case: Pressing too hard on the bottom panel can crack the housing.
- Using Heat: A blow dryer or oven may damage the speaker’s electronics or battery.
- Neglecting the Seal: A damaged rubber seal will compromise water resistance again.
- Skipping the Dry Period: Rushing the drying process often leaves hidden moisture inside.
Mindful adherence to the above guidelines improves the likelihood of a successful fix.
When Professional Repair Is the Right Choice
There are scenarios where a DIY approach may not suffice:
- Severe Corrosion: If the printed circuit board shows widespread oxidation.
- Battery Damage: Swollen or leaking batteries pose fire risks.
- Component Replacement: Replacing the driver or PCB often requires soldering skill and specialized parts.
- Warranty Considerations: Opening the speaker voids the manufacturer’s warranty; in some cases, contacting JBL support first is prudent.
Professional technicians can perform in‑depth cleaning, replace damaged parts, and re‑seal the unit with industry‑grade materials.
Preventing Future Water Damage
Once you’ve restored your Flip 3, take steps to guard against future incidents:
- Use a Protective Case: Waterproof cases add an extra layer of defense.
- Keep It Away From Liquids: Avoid placing the speaker on wet surfaces or near drinks.
- Inspect Regularly: Check the rubber seal for cracks or wear after each use.
- Charge in a Dry Area: Prevent condensation from forming on the charging port.
Adhering to these habits extends the life of your speaker and keeps it ready for the next adventure.
Final Thoughts
Water exposure can be intimidating, but many JBL Flip 3 units survive a splash with proper care. By following a systematic approach—recognizing symptoms, safely powering down, carefully disassembling, thoroughly drying, inspecting components, and carefully reassembling—you can often bring the speaker back to life. Remember that patience during the drying phase is key, and don’t hesitate to seek professional help if the damage is beyond what a user can safely repair.
With these steps in hand, you can restore your Flip 3 and enjoy crisp audio again, whether you’re on a beach trip, at a backyard barbecue, or simply enjoying a movie night at home.
Discussion (10)
Join the Discussion
Your comment has been submitted for moderation.
Random Posts

Analyzing iPhone 13 Pro Max Apple Pay Transaction Declines After Software Update
After the latest iOS update, iPhone 13 Pro Max users see more Apple Pay declines. This guide explains the technical cause, how to diagnose the issue, and steps to fix payment reliability.
2 months ago
Dyson AM15 Mist Not Spreading What Causes It And How To Repair
Find out why your Dyson AM15 Mist isn’t misting, learn the common causes, and follow our step, by, step guide to restore full misting performance quickly.
2 months ago
Adjusting the Neato Botvac D6 for Unexpected Cleaning Pause
Learn why your Neato Botvac D6 pauses, diagnose the issue, and tweak settings for smooth, uninterrupted cleaning.
11 months ago
Quelling LG OLED G1 Picture Loop at Startup
Stop the LG OLED G1 picture loop that stutters at startup, follow these clear steps to diagnose software glitches, adjust settings, and restore a smooth launch every time.
4 months ago
Resolving Room Acoustics Calibration on Samsung HW Q990T
Calibrate your Samsung HW, Q990T to your room's acoustics and unlock true cinema-quality sound, every dialogue and subtle score becomes crystal clear.
1 month ago
Latest Posts

Fixing the Eufy RoboVac 15C Battery Drain Post Firmware Update
Fix the Eufy RoboVac 15C battery drain after firmware update with our quick guide: understand the changes, identify the cause, and follow step by step fixes to restore full runtime.
5 days ago

Solve Reolink Argus 3 Battery Drain When Using PIR Motion Sensor
Learn why the Argus 3 battery drains fast with the PIR sensor on and follow simple steps to fix it, extend runtime, and keep your camera ready without sacrificing motion detection.
5 days ago

Resolving Sound Distortion on Beats Studio3 Wireless Headphones
Learn how to pinpoint and fix common distortion in Beats Studio3 headphones from source issues to Bluetooth glitches so you can enjoy clear audio again.
6 days ago