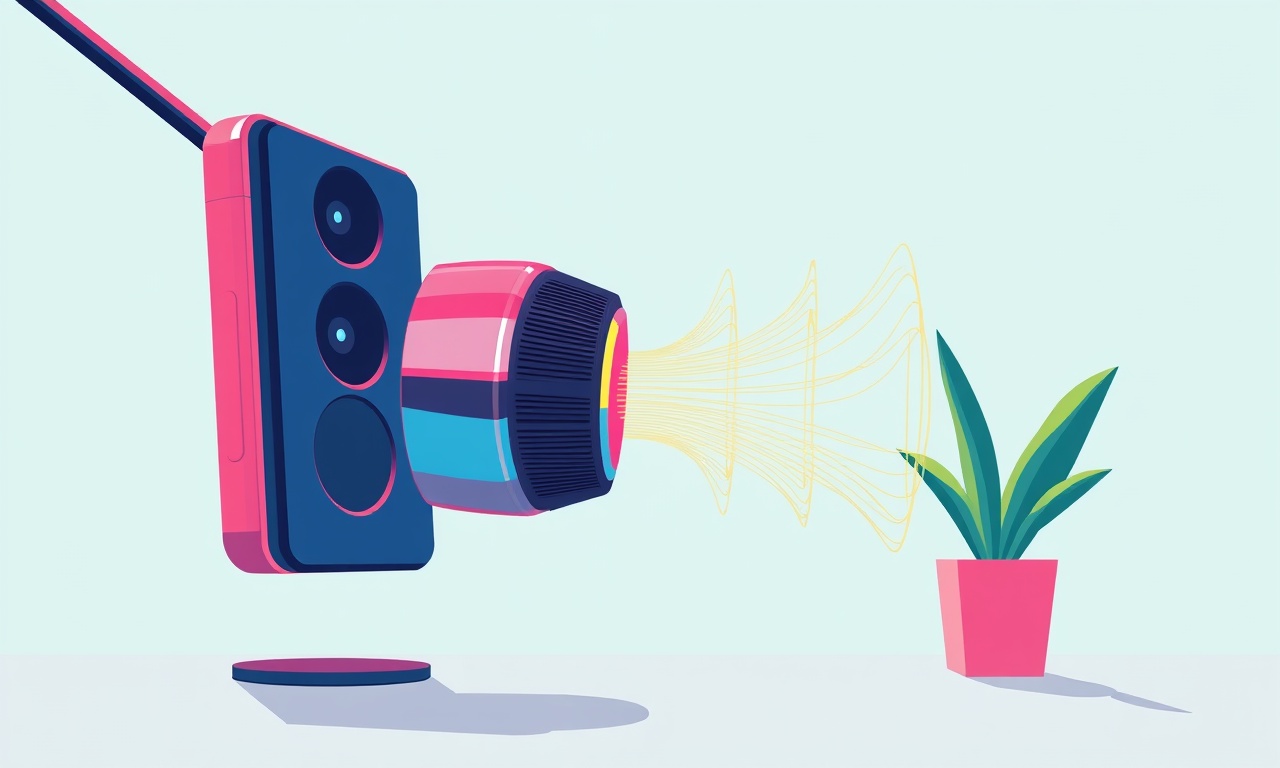
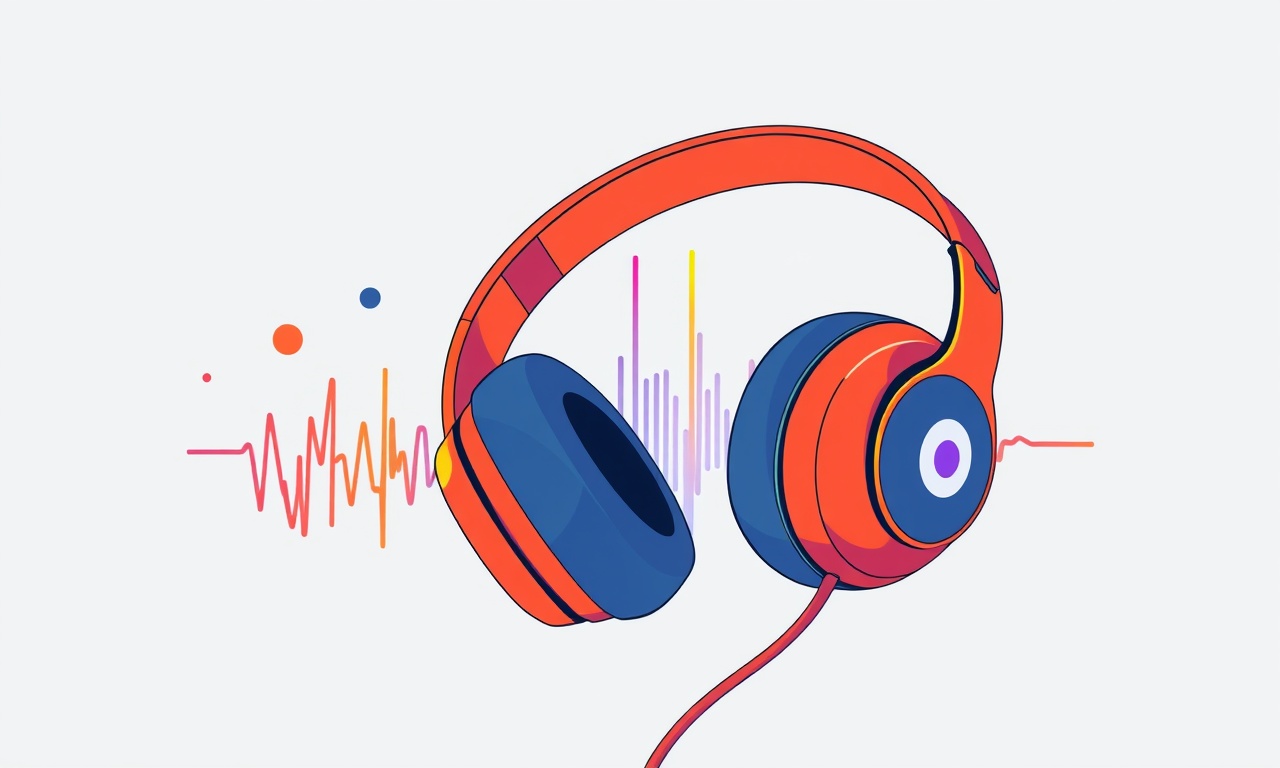
Repairing Left Channel Dropout on JBL Live 650BTNC Headphones

Why a Dropout Happens
Headphones are essentially a pair of tiny loudspeakers wired together. In the JBL Live 650BTNC, the left and right drivers share a common signal chain inside a compact, sealed enclosure. When one side fails to reproduce sound, the culprit is almost always a physical or electrical fault somewhere along that side’s path. The left‑channel dropout is a common symptom of loose contacts, damaged wires, or a damaged driver. Knowing how to isolate the problem and repair it can save you time, money, and a lot of frustration.
Understanding the JBL Live 650BTNC Architecture
The Live 650BTNC uses a dual‑driver setup: a dynamic driver for bass and a balanced armature for mid‑range to high frequencies. Both drivers are fed by a shared PCB that routes the audio signal from the headset’s connector to each driver. The internal cable runs from the jack to the drivers, branching into two separate paths. The left channel’s path is often thinner, making it more susceptible to wear and tear.
Key points to remember
- The audio jack is a 3.5 mm TRRS connector; its pins feed the left/right, microphone, and ground.
- The internal cable is typically a single‑core cable that splits into two conductors—one for each channel.
- The drivers are mounted on a small bracket with a spring‑loaded contact that holds them in place.
- The enclosure is sealed with a rubber gasket; opening it can expose the internal circuitry to dust and moisture.
Step‑by‑Step Diagnostic Flow
A structured approach helps you avoid unnecessary disassembly. Start with the simplest checks and work your way to more invasive tests.
1. Verify the Source
Before digging inside the headphones, confirm that the problem isn’t with the audio source or the device’s output jack.
- Try a different device: Play the same track on a smartphone, laptop, or music player. If the dropout persists, the headphones are likely at fault.
- Swap the cable (if detachable): The JBL Live 650BTNC often comes with a detachable cable. Try a spare cable if you have one.
- Test on multiple volumes: Dropouts can be volume‑dependent. Lower the volume to see if the left channel still fails.
2. Inspect the External Connector
The 3.5 mm jack is a common failure point.
- Look for bent or broken pins: Use a flashlight to check each pin. Gently flex the plug to see if any pins are misaligned.
- Clean the jack: Remove lint or debris. A small brush or compressed air can help.
- Re‑insert the plug multiple times: Sometimes a loose connection can cause intermittent dropout.
If the external connector is fine, move to internal checks.
Opening the Headphones Safely
If the dropout persists after external checks, the next step is to open the headset. Before proceeding, gather the necessary tools and ensure you are working in a static‑free environment.
Tools you will need
- Small Phillips head screwdriver
- Flat‑head screwdriver
- Plastic pry tool
- Magnifying glass (optional but helpful)
- Anti‑static wrist strap
- Tweezers
- Soldering iron and solder (if re‑soldering is required)
Safety first
- Disconnect the battery: Even though the headphones are powered by a rechargeable battery, removing it reduces risk.
- Work on a clean, flat surface: A cluttered workspace can lead to lost screws or misplaced components.
Step‑by‑Step Inside the Case
3. Remove the Back Cover
The Live 650BTNC’s back cover is held together by a small set of screws and a plastic clip.
- Unscrew the screws: Typically two small screws on the rear panel.
- Pry open the clip: Use the plastic pry tool to gently lift the cover. Avoid force that could crack the plastic.
4. Locate the Cable Connection
Once the cover is removed, you will see the internal cable routed from the jack to the drivers.
- Trace the cable: Follow the cable until it splits into two. The left‑channel wire is usually thinner.
- Inspect the connectors: The cable attaches to the jack using a small L‑shaped connector. Check for signs of wear or damage.
5. Test the Cable Continuity
Using a multimeter set to continuity mode:
- Place one probe on the left‑channel contact at the jack end.
- Place the other probe on the left‑driver contact.
- Listen for the click: Continuity indicates an intact wire. No click means a break somewhere along the path.
If continuity fails, the cable needs repair or replacement.
Replacing the Internal Cable
6. Remove the Faulty Cable
- Unscrew the cable connector: It’s often secured with a small screw or clip.
- Pull the cable gently: The cable may be kinked; avoid pulling too hard to prevent damage to the rest of the wiring.
7. Install a New Cable
- Measure the length: Ensure the new cable matches the old one’s length to maintain proper fit.
- Attach the connector: Align the cable’s connector with the jack’s L‑shaped slot and secure it with the screw or clip.
- Check for strain relief: The cable should have a strain‑relief loop to prevent future breaks.
8. Test After Replacement
- Reconnect the battery: If you removed it earlier, reattach it.
- Reassemble the case: Carefully snap the back cover back on and screw it in.
- Test the headphones: Plug them into a device and verify the left channel is functioning.
If the left channel remains dead, the driver or its internal connection may be at fault.
Repairing the Driver or Its Contact
The drivers in the Live 650BTNC are mounted on a spring‑loaded bracket. A weak contact can cause dropout.
9. Inspect the Driver Mount
- Open the driver bracket: Usually secured by a small screw or clip.
- Check the spring: It should be intact and pressing firmly against the driver diaphragm.
- Look for debris: Clean any dust or lint that might prevent a solid connection.
10. Re‑solder the Driver Lead (If Necessary)
If the driver’s lead has become disconnected, you can re‑solder it.
- Identify the pin: The driver usually has a single pin that plugs into a small receptacle on the PCB.
- Heat the joint: Use the soldering iron to melt a small amount of solder onto the pin and the receptacle.
- Re‑attach the driver: Slide the driver back into place and press the spring to secure it.
Tip: Use a heat‑shrink tube or electrical tape to secure the soldered joint and protect it from vibration.
11. Verify the Driver Function
After re‑soldering:
- Reassemble the headphones: Snap the back cover on, screw it back.
- Test with a device: If the left channel now plays sound, the repair was successful.
If the driver still does not work, it may be dead or permanently damaged.
When the Driver Is Dead
A dead driver is a more severe problem. You can either replace the entire driver or the entire headphone set.
12. Source a Replacement Driver
- Check JBL’s parts catalog: Look for a compatible driver model.
- Match the specifications: Frequency response, impedance, and size must align with the original.
13. Install the New Driver
- Remove the old driver: Unscrew the driver bracket.
- Align the new driver: Place it in the bracket, ensuring the contact points line up.
- Secure it: Tighten the screw, then apply the spring.
14. Test the New Driver
Once reassembled, test the headphones again. A working left channel indicates a successful replacement.
Reassembly Checklist
- All screws tightened: Check that the back cover screws are snug but not over‑tightened.
- Cable connections secure: Verify the cable connector is firmly seated.
- Battery connection intact: Ensure the battery is properly seated and the connector is not loose.
- No exposed wires: Keep all internal wires covered or insulated.
Preventing Future Dropouts
After repairing, take steps to avoid recurrence.
15. Handle the Cable with Care
- Avoid sharp bends: Keep the cable at least 90° when bent.
- Use a cable protector: Some headsets come with a small guard; consider adding one.
16. Clean Regularly
- Wipe the connector: Use a dry cloth to remove dust.
- Inspect for wear: Check the cable and jack monthly for signs of fraying.
17. Store Properly
- Use a pouch: Avoid twisting the cable when storing.
- Keep away from extreme temperatures: High heat can degrade the internal components.
When DIY Isn’t Enough
If you’re uncomfortable opening the headphones or the repair doesn’t resolve the issue, consider professional help.
- Contact JBL support: They may offer repair services or replacement parts.
- Check warranty: If your headphones are still under warranty, a free repair or replacement might be available.
- Visit a local repair shop: Experienced technicians can diagnose complex issues quickly.
Summary
Repairing a left‑channel dropout on the JBL Live 650BTNC involves a systematic approach: start with the source, move to the external connector, test the internal cable, and, if needed, address the driver or its contact. The process requires basic tools and careful handling. By following these steps, you can restore full audio performance to your headphones, extending their lifespan and saving money.
Key takeaways
- Verify the audio source first; dropouts can be device‑related.
- Inspect the external jack for bent pins or debris.
- Use a multimeter to test cable continuity.
- Re‑solder or replace the driver if its contact is compromised.
- Keep the cable protected and clean to prevent future issues.
With patience and attention to detail, most left‑channel dropouts can be fixed at home. Happy repairing!
Discussion (10)
Join the Discussion
Your comment has been submitted for moderation.
Random Posts
Reassessing the Audio Jack Dropout on LG Velvet 2
Explore why the LG Velvet 2's 3.5mm jack glitches, what triggers audio dropouts, user fixes, and LG's stance: essential insight for current and future Android phones.
1 year ago
Philips HP700 Fan Stalls Quietly Even At Low Speed Why This Happens And What To Do
Discover why your Philips HP700 quietly stalls at low speed, spot early signs, and fix the issue to keep steady airflow.
2 weeks ago
How to Stop Sharp LC-40M from Producing Audio Sync Issues While Gaming
Fix your Sharp LC-40M so game audio stays in sync. Learn quick settings tweaks, cable checks, and audio-output fixes that keep sound matching action for a flawless gaming experience.
6 months ago

Solve Arlo Pro 4 Wireless Connection Problems
Discover quick fixes for offline Arlo Pro 4 cameras. Check power, Wi, Fi, firmware, reset steps, and more get your live feed back up fast.
4 months ago
Panasonic D45 Dryer Timer Skips Final Drying Cycle
Discover why your Panasonic D45 dryer skips its final cycle, learn the symptoms, root causes, and easy fixes to keep clothes dry, save energy, and avoid extra runs.
5 months ago
Latest Posts
Fixing the Eufy RoboVac 15C Battery Drain Post Firmware Update
Fix the Eufy RoboVac 15C battery drain after firmware update with our quick guide: understand the changes, identify the cause, and follow step by step fixes to restore full runtime.
5 days ago

Solve Reolink Argus 3 Battery Drain When Using PIR Motion Sensor
Learn why the Argus 3 battery drains fast with the PIR sensor on and follow simple steps to fix it, extend runtime, and keep your camera ready without sacrificing motion detection.
5 days ago
Resolving Sound Distortion on Beats Studio3 Wireless Headphones
Learn how to pinpoint and fix common distortion in Beats Studio3 headphones from source issues to Bluetooth glitches so you can enjoy clear audio again.
6 days ago